Installing Linux
Windows and macOS are surveillance operating systems.
That sounds dramatic, but it’s literally true. Both send telemetry data to Microsoft and Apple by default. Both have settings scattered across dozens of menus that reset after updates. Both prioritize their business interests over your privacy.
Linux is different. On Linux, you decide what data leaves your computer. There’s no corporation harvesting your usage patterns, no ads in your start menu, no forced updates that reset your settings.
This week, you’ll install Linux Mint in a virtual machine. No risk to your current system. You can run Linux inside Windows or macOS while you learn.
Why Linux Mint?
There are hundreds of Linux distributions. We’re using Linux Mint because:
- Beginner-friendly — Designed for people coming from Windows
- Familiar interface — Start menu, taskbar, desktop icons
- No telemetry — Unlike Ubuntu, Mint doesn’t send data home
- “Just works” — Hardware support, codecs, and common software pre-configured
- Large community — Easy to find help when you need it
Linux Mint uses the Cinnamon desktop, which will feel familiar if you’ve used Windows. You’ll have a learning curve, but it’s gentler than other Linux options.
What You’ll Need
Before we start:
- Computer with virtualization support — Most computers from the last 10 years have this
- At least 8GB RAM — You’ll give 4GB to the virtual machine
- 25GB free disk space — For the virtual machine’s hard drive
- An hour of uninterrupted time — Installation takes a while
Don’t worry if something goes wrong. Virtual machines are sandboxed — nothing you do inside can damage your real computer.
Part 1: Install VirtualBox
VirtualBox is free, open-source software that lets you run operating systems inside your current one. Think of it as a computer inside your computer.
Download VirtualBox
- Go to virtualbox.org
- Click Downloads
- Choose your host operating system:
- Windows hosts — if you’re on Windows
- macOS / Intel hosts or macOS / Apple Silicon hosts — if you’re on Mac
- Download the installer

Install VirtualBox
On Windows:
- Run the downloaded
.exefile - Click through the installer (defaults are fine)
- Allow any driver installation prompts
- Restart if prompted
On macOS:
- Open the downloaded
.dmgfile - Double-click the VirtualBox installer package
- Follow the prompts
- Go to System Preferences → Security & Privacy and allow the Oracle extension if prompted
- Restart if prompted
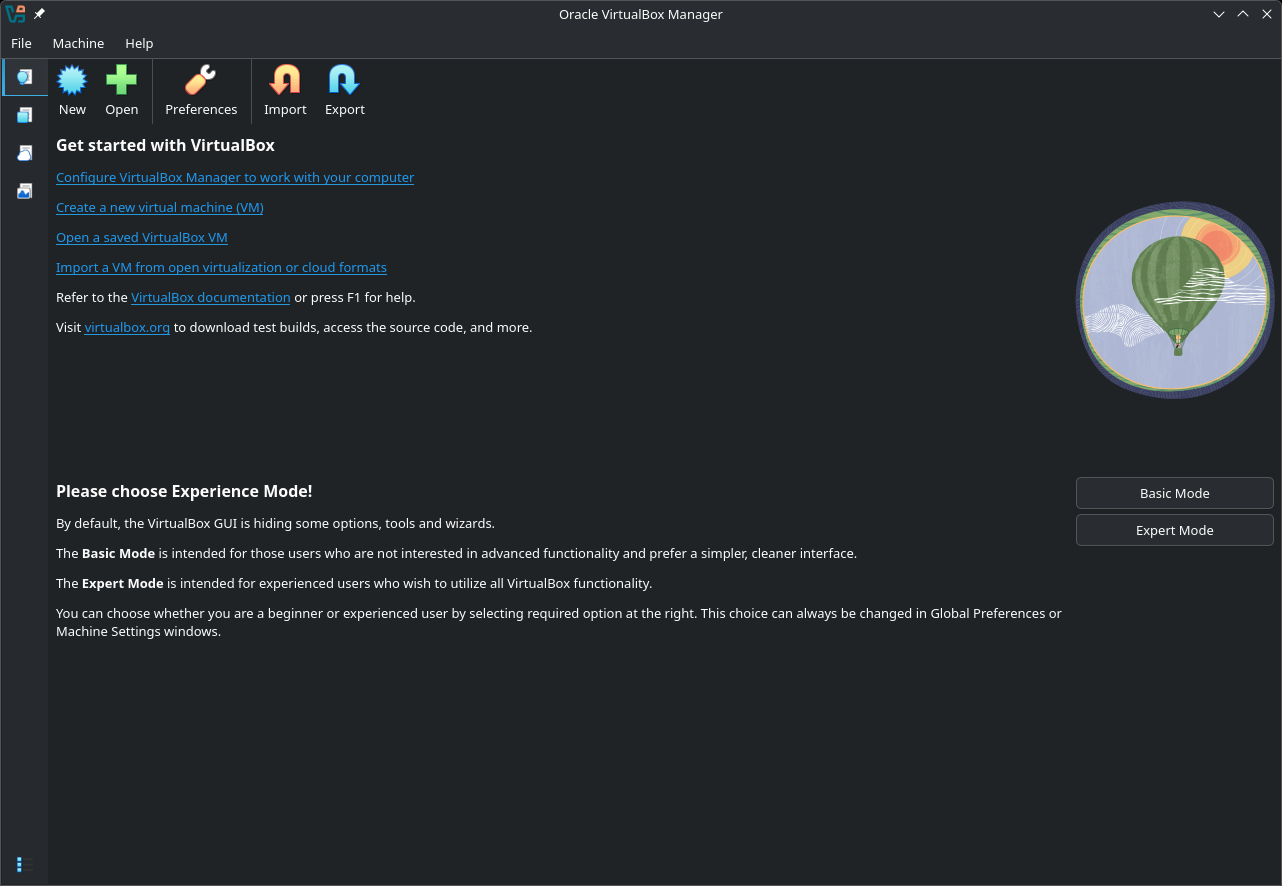
After installation, open VirtualBox to confirm it works. You should see an empty “Oracle VirtualBox Manager” window.
Part 2: Download Linux Mint
Now we’ll download the Linux Mint installation image. This is a .iso file — a complete snapshot of the operating system.
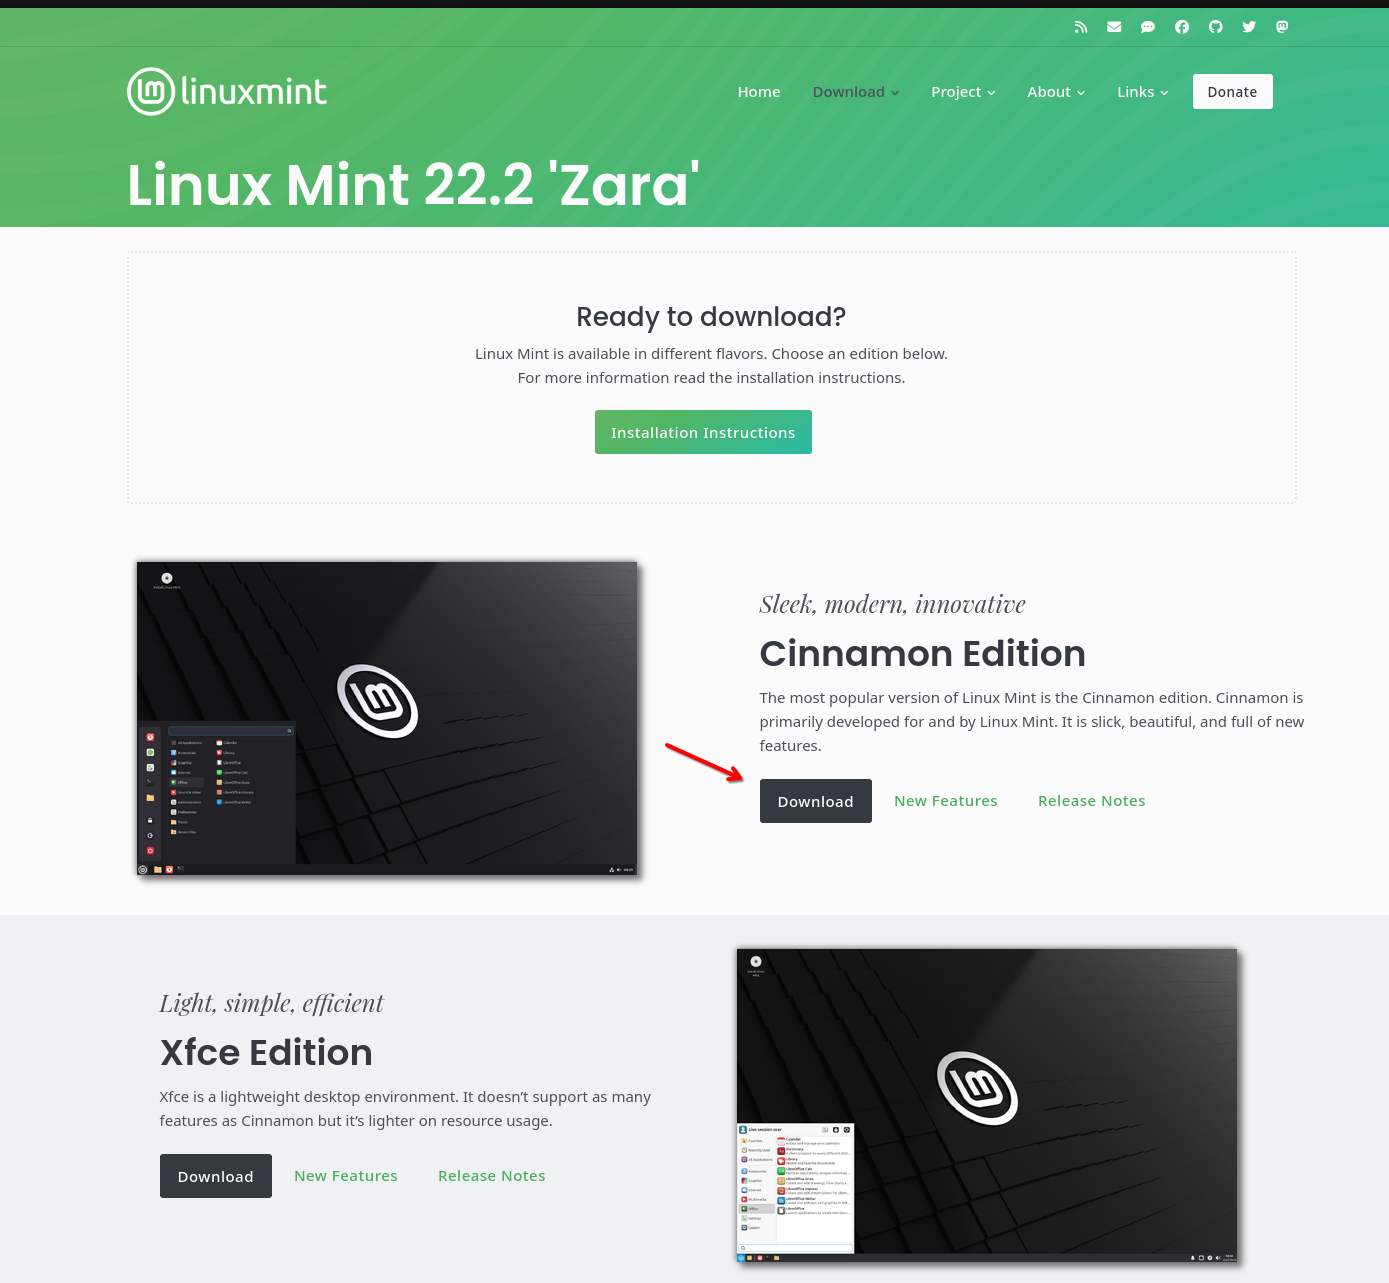
Get the ISO
- Go to linuxmint.com
- Click Download
- Choose Linux Mint 22.2 “Zara” (or latest stable version)
- Select Cinnamon Edition — the recommended desktop and click Download
- Scroll down and choose a download mirror near your location and click it
The file is approximately 3GB. This will take a few minutes.
Why We Verify Downloads
Before using this file, we need to verify it wasn’t corrupted or tampered with.
This isn’t paranoia. In 2016, the Linux Mint website was hacked and the download links were changed to point to a backdoored version. Users who downloaded that day got malware. Users who verified their downloads caught the problem.
Every time you download security software, verify the hash.
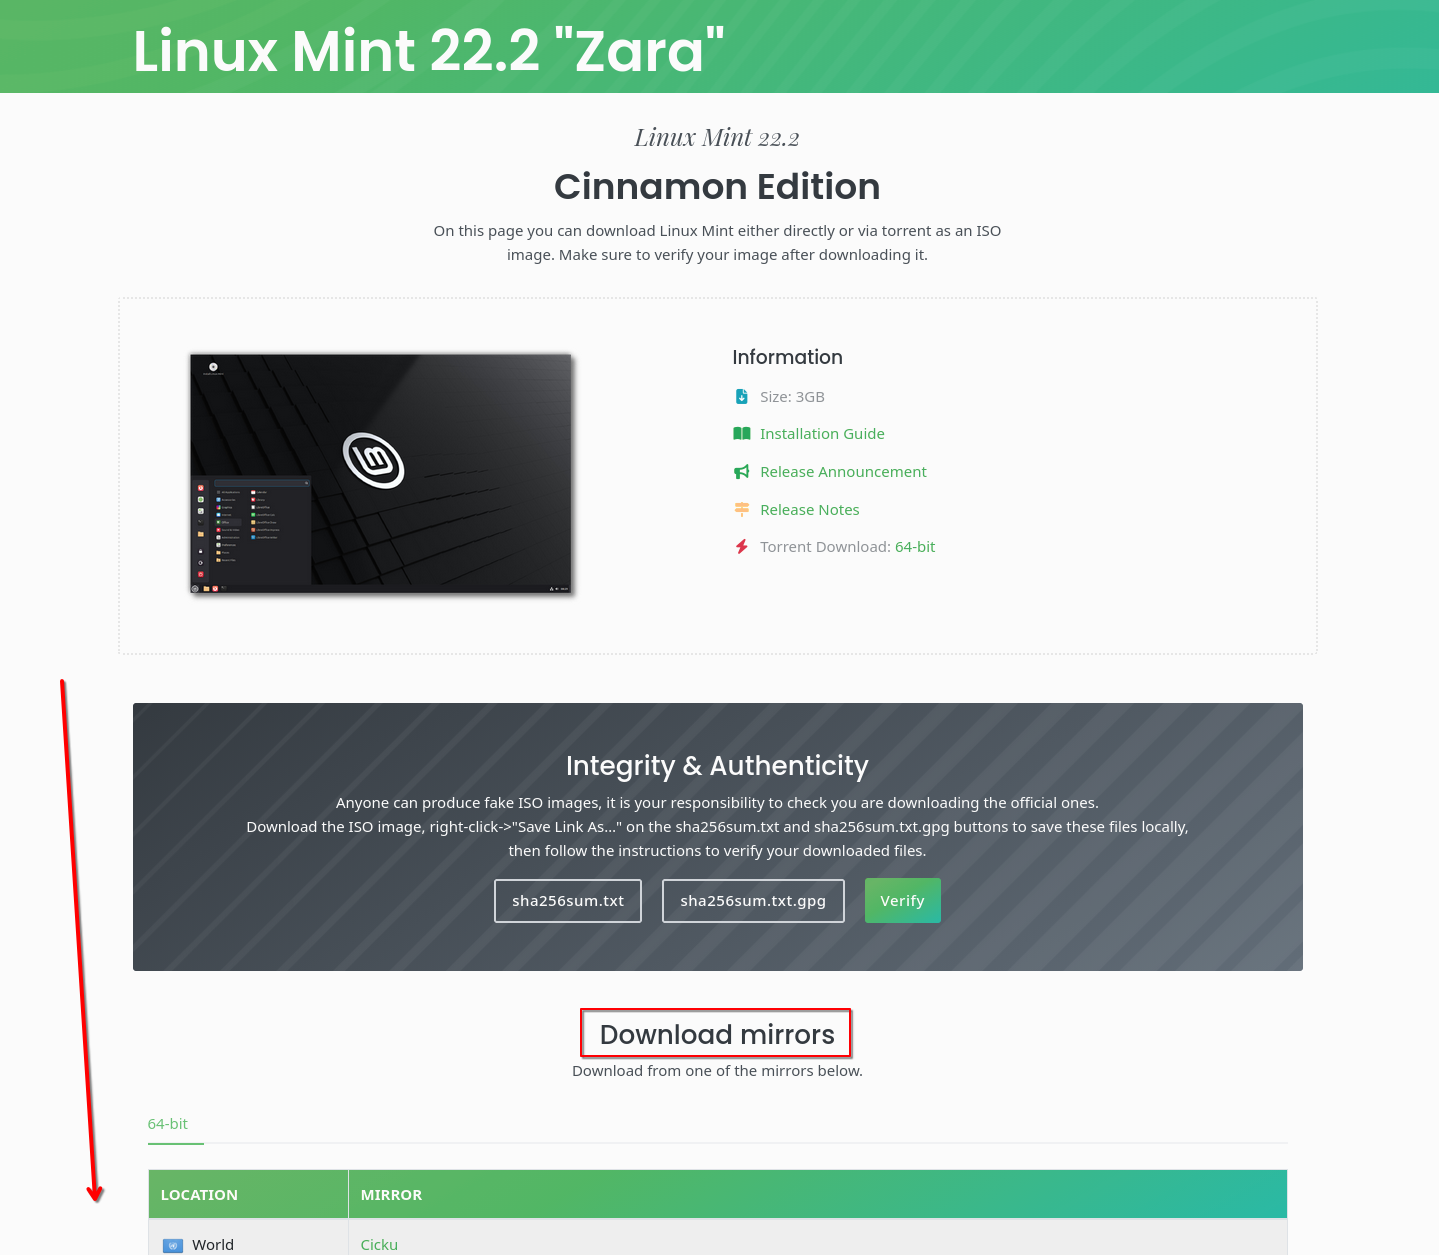
Download the Verification File
On the same download page:
- Find the link to sha256sum.txt above the mirrors list
- Right click and Save Link As… or click to open in the browser
- Download it to the same folder as your ISO
This file contains the expected “fingerprint” (hash) of the legitimate ISO.

Verify on Windows
Open PowerShell (search for it in the Start menu) and run:
cd Downloads
Get-FileHash linuxmint-22-cinnamon-64bit.iso -Algorithm SHA256
Compare the output to the hash in sha256sum.txt. They should match exactly.

Verify on macOS
Open Terminal (in Applications → Utilities) and run:
cd ~/Downloads
shasum -a 256 linuxmint-22-cinnamon-64bit.iso
Compare the output to the hash in sha256sum.txt. They should match exactly.
Verify on Linux
Open a terminal and run:
cd ~/Downloads
sha256sum linuxmint-22-cinnamon-64bit.iso
Compare the output to the hash in sha256sum.txt.
If the hashes don’t match: Delete the ISO and download again from a different mirror. Do not proceed with a mismatched file.
Part 3: Create the Virtual Machine
Now we’ll create a virtual computer to install Linux Mint into.
Create New VM
- Open VirtualBox
- Click New (or Machine → New)
- Configure the basics:
- Name:
Linux Mint(or whatever you want) - Folder: Leave default
- ISO Image: Click the dropdown and select your downloaded ISO
- VirtualBox should auto-detect “Linux” and “Ubuntu (64-bit)” — that’s fine for Mint
- Name:
- Click Next
Allocate Memory and CPU
- Base Memory: 4096 MB (4GB) minimum
- If you have 16GB+ RAM, you can give it more
- Processors: 2 CPUs minimum
- If you have 8+ cores, give it 4
- Click Next
Create Virtual Hard Disk
- Select Create a Virtual Hard Disk Now
- Disk Size: 25 GB minimum (50GB if you have space)
- Leave Pre-allocate Full Size unchecked — this saves disk space
- Click Next, then Finish
Configure Display (Optional but Recommended)
Before starting the VM:
- Select your new VM in the list
- Click Settings
- Go to Display
- Increase Video Memory to 128 MB
- Click OK
This prevents graphical glitches during installation.
Part 4: Install Linux Mint
Time for the actual installation.
Boot the VM
- Select your Linux Mint VM
- Click Start
- A new window opens — this is your virtual computer
- Wait for Linux Mint to boot (this takes a minute or two)
You’ll see the Linux Mint desktop — this is a “live” environment running from the ISO. Nothing is installed yet.
Start Installation
- Double-click the Install Linux Mint icon on the desktop
- Select your language and click Continue
- Select your keyboard layout and click Continue
- Check Install multimedia codecs — this enables video/audio playback
- Click Continue
Disk Setup
You’ll see installation type options:
- Select Erase disk and install Linux Mint
- Don’t worry — this only erases the virtual disk, not your real computer
- Important: Check the box for Encrypt the new Linux Mint installation for security
- Click Install Now
Set Encryption Password
You’ll be prompted to create an encryption password:
- Use a strong, unique password you can remember
- This password is required every time you start the VM
- Write it down somewhere safe — if you forget it, your data is gone
Enter the password twice and click Install Now.
Confirm Disk Changes
A dialog confirms what will be changed. Click Continue.
Location and User Setup
- Where are you? — Click your timezone on the map
- Who are you?
- Your name: Can be anything (doesn’t have to be real)
- Computer’s name: Something simple like
mint-vm - Username: Keep it short, lowercase, no spaces
- Password: For your user account (can be different from encryption password)
- Leave “Require my password to log in” checked
- Click Continue
Wait for Installation
The installation copies files to your virtual disk. This takes 10-20 minutes depending on your computer’s speed.
When complete, you’ll see a prompt to Restart Now. Click it.
First Boot
The VM will restart. You may see a prompt to “remove installation medium” — just press Enter.
You’ll be prompted for your encryption password (the first one you created). Enter it.
Then you’ll see the login screen. Enter your user password (the second one) to log in.
Congratulations — you’re running Linux.
Part 5: First Steps in Linux Mint
Your new system needs a few quick updates.
Update Your System
- Click the shield icon in the bottom-right system tray
- The Update Manager opens
- Click Install Updates
- Enter your password when prompted
This downloads security patches and updates. It may take several minutes.
Install VirtualBox Guest Additions (Better Performance)
This makes your VM run smoother — better graphics, shared clipboard, resizable window.
- In the VirtualBox menu (top of VM window), click Devices → Insert Guest Additions CD image
- A dialog appears asking to run the software — click Run
- Enter your password
- Wait for it to complete
- Restart the VM when done
After restart, you can resize the VM window and the desktop will scale with it.
Quick Terminal Introduction
Open the terminal (Menu → Terminal, or Ctrl+Alt+T):
# Where am I?
pwd

# What's in this folder?
ls

# What's my username?
whoami

# What Linux version am I running?
cat /etc/os-release
Don’t worry about memorizing commands yet. We’ll use the graphical interface for most things in this course.
Privacy Checkpoint
You’re now running a privacy-respecting operating system. Here’s what’s different from Windows/macOS:
What Linux Mint does NOT do:
- Send usage telemetry to any company
- Show you ads in the operating system
- Require an online account to use
- Reset your privacy settings after updates
- Force updates without your consent
What you control:
- Whether automatic updates are enabled
- What software gets installed
- What network connections your computer makes
- What data gets backed up and where
This is the foundation everything else builds on.
Troubleshooting
“VT-x is disabled in BIOS”
Virtualization needs to be enabled in your computer’s BIOS:
- Restart your computer
- Press the BIOS key during boot (usually F2, F12, Del, or Esc)
- Find “Virtualization” or “VT-x” in settings
- Enable it
- Save and exit
VM is very slow
- Close other programs on your host computer
- Increase RAM allocation in VM settings
- Enable 3D acceleration: Settings → Display → Check “Enable 3D Acceleration”
Screen resolution is wrong
Install Guest Additions (see above). If already installed:
- View → Virtual Screen 1 → Choose a resolution
- Or resize the window (works after Guest Additions installed)
Can’t boot from ISO
Make sure the ISO is attached:
- With VM powered off, go to Settings → Storage
- Click the empty disk under “Controller: IDE”
- Click the disk icon on the right → Choose a disk file
- Select your Linux Mint ISO
What’s Next
You now have a working Linux installation. Next week, we’ll configure your web browser for privacy — blocking trackers, preventing fingerprinting, and choosing privacy-respecting defaults.
Week 3 covers browser privacy with Firefox hardening and essential extensions.
Optional: Going Further
Ready to try Linux on real hardware?
This lesson used a virtual machine, which is perfect for learning. When you’re comfortable, you can:
- Dual-boot — Install Linux alongside Windows/macOS, choose at startup
- Full install — Replace your current OS entirely
- Live USB — Boot Linux from a USB drive without installing
These require creating a bootable USB drive with tools like Balena Etcher or Ventoy.
For now, practice with your VM. The skills transfer directly.
Summary
This week you:
- Installed VirtualBox to run virtual machines
- Downloaded Linux Mint and verified the hash (security habit!)
- Created a virtual machine with encryption enabled
- Installed Linux Mint and applied updates
- Learned basic terminal commands
You now have a privacy-respecting operating system to practice on. Everything we do in future weeks will work in this environment.